Providing orchids with the right nutrition is essential if you want them to thrive and bloom.
Orchids, with their exotic beauty and mystique, can seem like high-maintenance divas of the plant world, but when it comes to feeding them, they’re not as fussy as you might think. In this article, we will break down the art of fertilizing these captivating plants.
Feeding orchids doesn’t have to be a daunting task. With the right fertilizer, a gentle hand, and a bit of understanding of their needs, you can encourage your orchids to put on a show-stopping display. Think of it as a long-term relationship; get to know what your orchid likes, and you’ll both be happier for it.
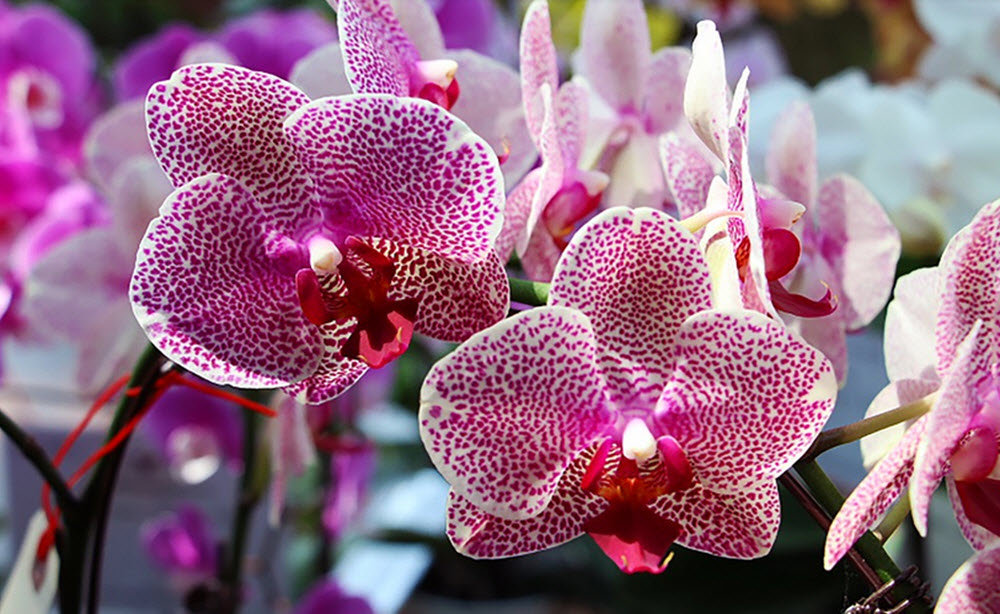
vanda orchid
Understand their diet
Orchids belong to a vast and varied family. Therefore, it is important to research your particular orchid species, or at least the genus, to find out about how its ancestors live in the wild.
Some orchids are terrestrial and grow in the soil, but there are also many species that are epiphytes and grow clinging to branches, rocks or something else. If you buy an orchid that is adapted to life perched up in a tree, stick it in normal soil and fertilize it as if it were a terrestrial plant, it is likely to suffer. Perching orchids are adapted to grabbing nutrients from whatever bits of organic matter float their way. So, when you bring them into your home, the key is to mimic their natural feeding habits.
The right fertilizer
The best course of action is to research the species, or at least the genus, to see more exactly what kind of fertilizer it wants. There are different specific orchid fertilizers available for various picky eaters. Exampples of common combinations are 13-3-15 (nitrogen-phosphorus-potassium) and 7-5-6 (nitrogen-phosphorus-potassium).
If this is not possible, my general advice is to pick a balanced fertilizer like 20-20-20 (nitrogen-phosphorus-potassium) and dilute it well. Since orchids are such light eaters, it’s often recommended to dilute this fertilizer to a quarter strength.
Timing
Orchids have their own internal calendars, often marked by growth phases and resting periods. The general rule of thumb is to feed them during their active growth phase, which is typically when they’re throwing out new leaves, roots, or stems. Once a week or every other week is a good schedule for the growing season. Ease off once the plant starts to go into its rest phase (usually after blooming).
Less is more
If you’re ever in doubt, remember that orchids are more likely to suffer from overfeeding than underfeeding. Signs of too much fertilizer include crusty buildup on the potting mix surface or even damaged roots. If you notice this, give your orchid a detox by flushing the pot with water and adjusting your fertilizing routine.
Water before feeding
When it’s time to feed your orchid, make sure the potting mix is moist first (if the orchid is potted) or moist the roots directly (if the orchid is not potted). Applying fertilizer when it is too dry is a rookie mistake that can lead to burn. Moist or water your orchid before feeding to ensure the roots are receptive.
The ice cube myth
You might have heard of watering orchids with ice cubes. While this has been touted as a way to provide slow-moisture release, it’s not the best practice.
Many of the orchids that are commonly kept as house plants are tropical or subtropical species, and they are not good at dealing with icy water. Stick to room temperature water (and fertilizer solution) to keep them happy.
Learn more about the roots of your orchid and how it absorbs nutrients
As mentioned above, orchids belong to a large and varied family and I recommend that you learn more about the specific orchids you keep. That will make it much easier for you to give them the right conditions in your home and understand why things need to be a certain way.
Orchids can be broadly divided into two main groups: terrestrial orchids and epiphytic orchids. Territorial orchids grow in soil down on the ground, whlie epiphytic orchids grow on a support, e.g. a tree branch or a rock.
Some of the terrestrial orchids develop two different subterranean tuberous roots; one is for developing visible growth above the surface and the other one is used to store nutrients. If you are keeping this type of orchid, it is important to understand that it will store nutrients below ground and use those nutrients to survive during a part of the year when food is scarce. Learn more about the natural cycle of the orchid to avoid giving it too little nutrients during the storing-up period and too much nutrients during the other period. Note: Orchids that are native to a climate that is consistently warm and humid are much less likely to have this type of storage roots.
Epiphytic orchids also have different types of roots. They need one type of root to attach themselves to the surface, and another type of root to absorb humidity and nutrients. If you look at an orchid with aerial roots, you can usually find the velamen in the older parts of the aerial roots. Velamen is a modified spongy epidermis capable of absorbing humidity. It is usually white, silvery-grey or brown. In the wild, epiphytic orchids gets their nutrients from various sources, such as animal droppings, organic detritus and mineral dust.
If an epiphytic orchid is native to a climate where it will experience a drought/starvation period, e.g. a dry season in the tropics, it is likely to have a specially adapted stem where it will store water and nutrients. The base of the stem, or the entire stem, can thicken to form a pseudobulb for this purpose.